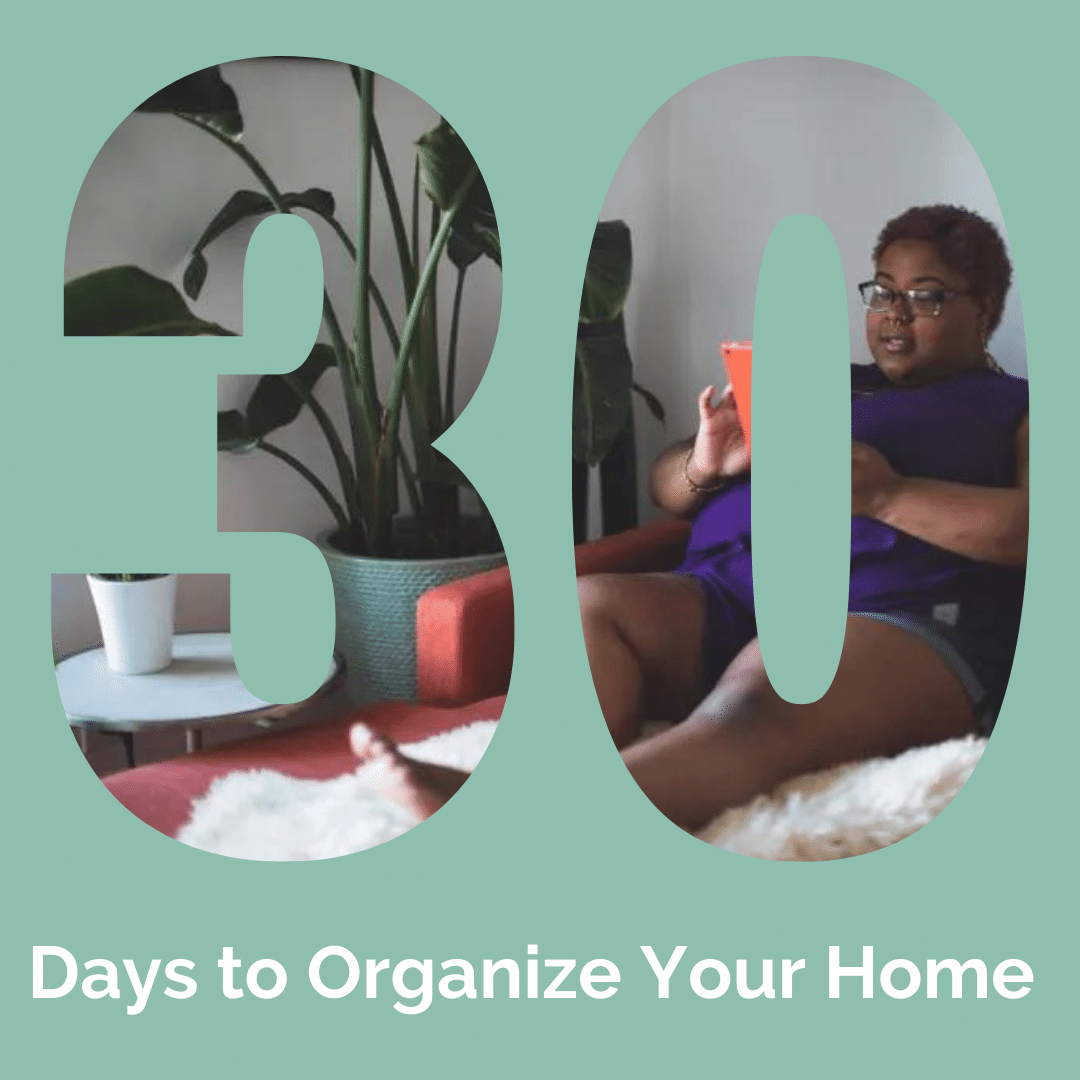
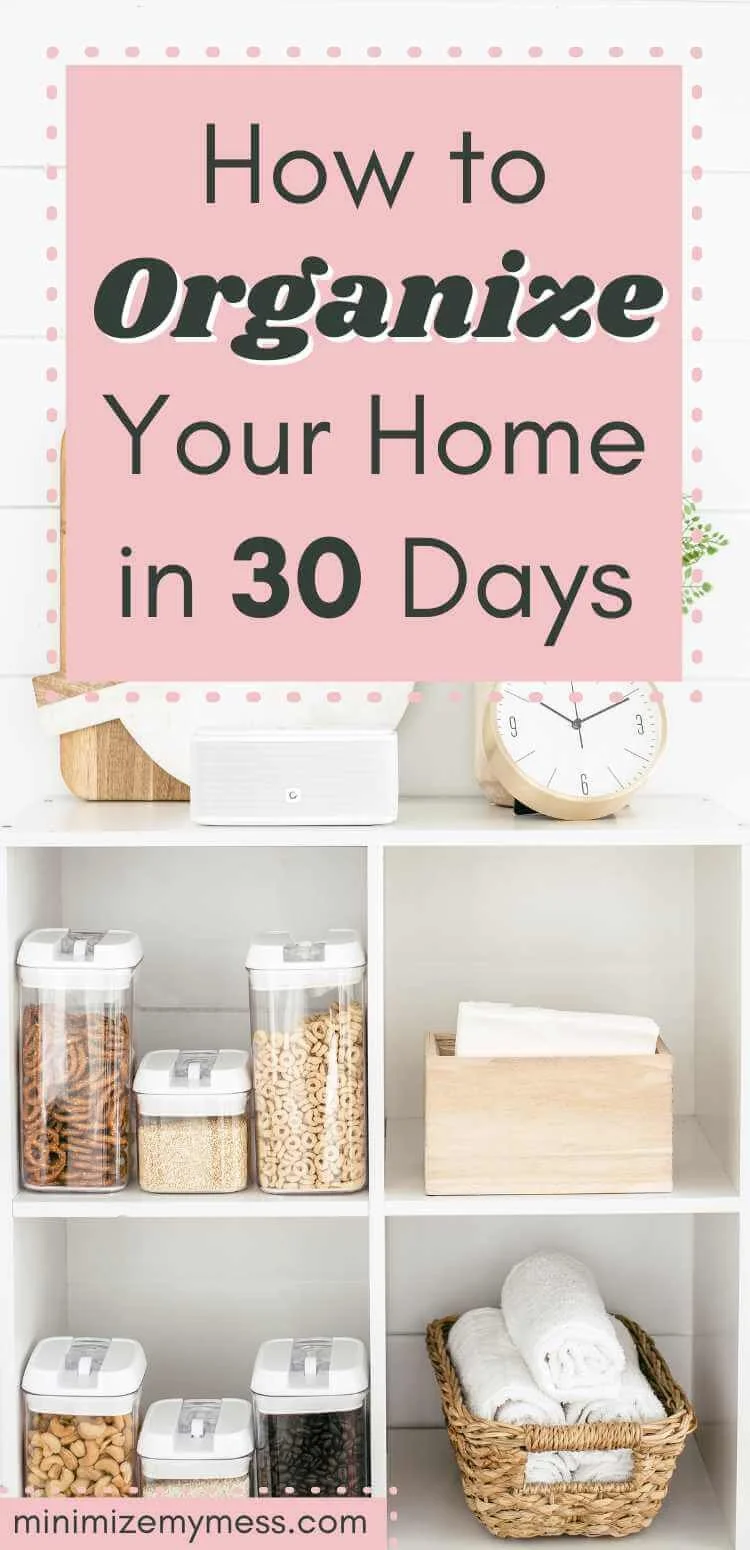
30 Day Home Organization Challenge
This is part 2 of a 60 day plan to declutter and organize your home, for part one check out How to become a minimalist in 30 days
Did you know that we make approximately a million decisions a month?
Add in the fact that we’re a society based on a 40 hour work week, designed for someone who had the equivalent support of a full time chef, nanny and housekeeper.
A lot of us don’t have the luxury of a full time helper, and yet we somehow manage to do our jobs (SAHP especially counts - it was the hardest job I’ve ever done), and keep ourselves and everyone else alive and well.
No wonder we are so stinking tired!
Here’s how organizing your home can help: Organization means making a decision now, so you don’t need to keep making the same decision every single day for the rest of your life.
I’ve created this free how to organize your house in 30 days mini course to break organizing down into easy to understand, bitesize chunks, spread out over 30 days.
Warning
Do not attempt to organize your house if you have not minimized first :)
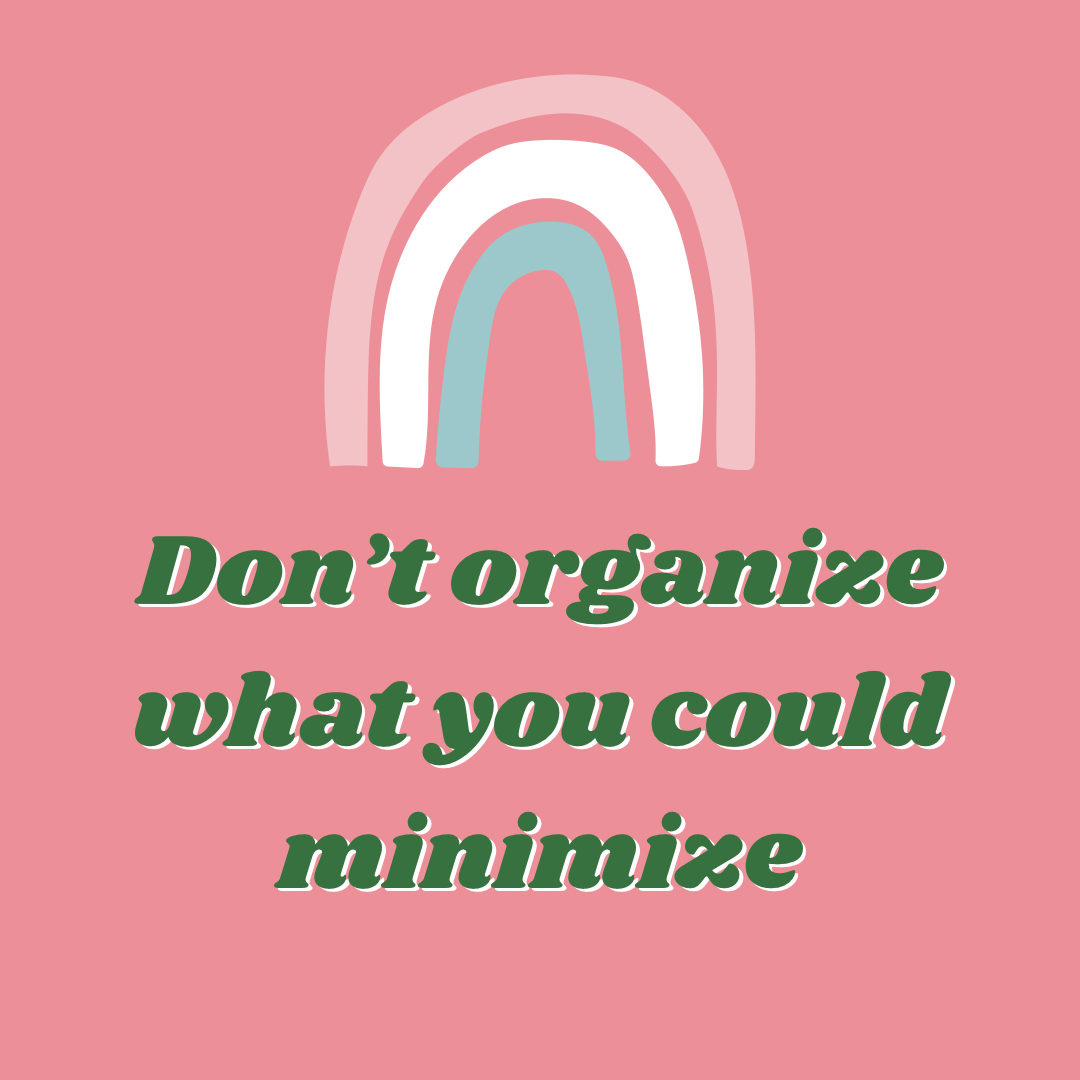
I always say, organizing your home before minimizing is like eating a banana before peeling it.
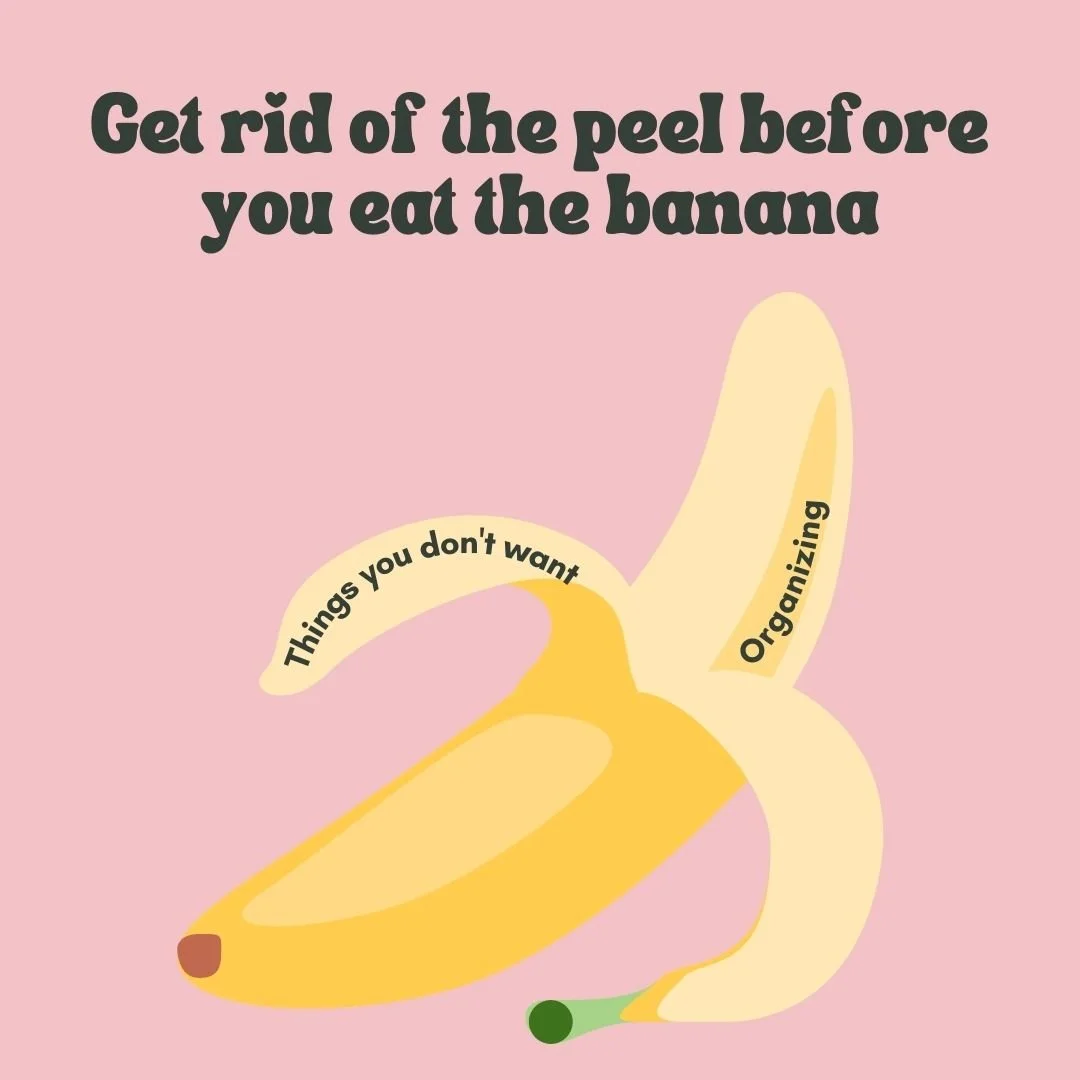
This exercise is going to be a gazillion times easier and more effective if you’ve already decluttered.
Here are some free decluttering guides for you, check them out then head back here once you’ve minimized - have fun!:
Take your time over 30 days - how to become a minimalist in 30 days
Cheat with this post - how to declutter 80% of your mess in 4 hours
Learn my full decluttering method (perfect for indecisive people as there’s a free decluttering tool)
Here’s the easiest and most eco-friendly ways to get rid of things that you’ve decluttered
Ease in slowly with this easy 5 minute minimalism game
Ok. All done decluttering your impulse buys from over the years? Great, let’s crack on!
Follow this guide on how to organize your house room by room.
I may receive a commission if you click on a link & buy - my full legal disclaimer is here
Day 1 - Physical prep
1) Download your free how to organize your home in 30 days checklist
It’s a fillable PDF so you can print it or record your progress electronically.
Psst …if we’re already email BFFs, you don’t need to submit your email address again, just head to your free resource area :)
2) Start collecting small boxes
Reusing small boxes inside of drawers and cupboards is a great way to keep them organized and tidy.
Anything shoe box sized and smaller will likely come in handy to compartmentalize and divide your storage spaces.
Designate a spot to collect them during this challenge. If you haven’t used them by the time we finish, don’t forget to let them to the donation or recycle pile.
3) Create a drop spot for anything that doesn’t have a home
This could be a dump drawer, a doom box, a sh!t shelf, or we use a LBT box (lazy but tidy).
When you’re in the mood to organize, problem solve and find homes for things, everything that needs a home will be all in one spot waiting for you (and not out cluttering up your home)
If you lose something, there’s only two places it could be …in it’s logical and labelled home, or the drop spot.
Oof! You rocked day one - I think you’ve earned yourself a cuppa and a biccie, go put your feet up!
Day 2 - Mental prep
1) Read these 79 quotes to get you in the mood to organize.
2) Take a refresher on the difference between minimizing, organizing, tidying & cleaning
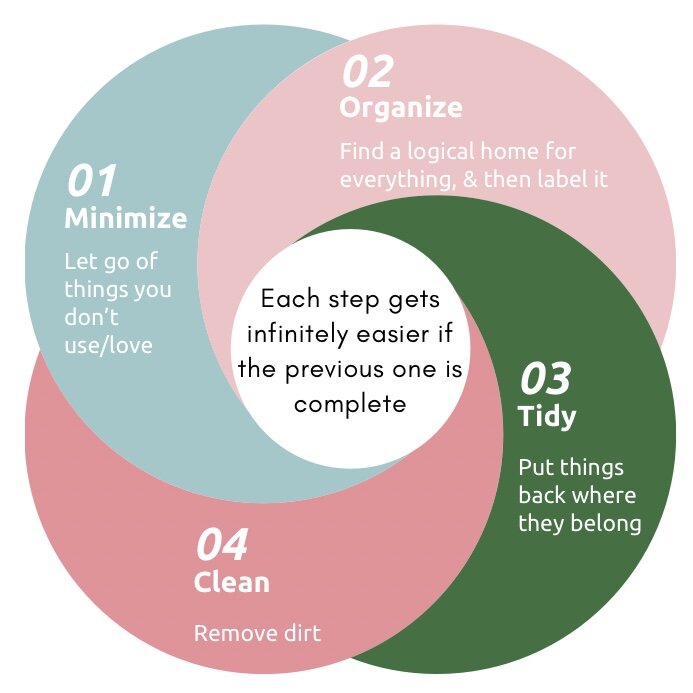
Minimizing (aka decluttering) is a continuous process, so if you come across something that you don’t want / need anymore whilst you’re organizing, feel free to let it go instead of going to the trouble of finding it a home.
3) What will you be organizing in this challenge?
Is organization just about storage bins? No it’s also about boundaries, schedules, routines, being intentional, and more.
Organizing is arranging your home, day and life to make things as easy as they possibly can be.
For this challenge though, we are going to focus on the physical organization of items in your home.
Watch this space for another 30 day challenge to organize the rest of your life!
4) Learn why you want to get organized
Do you want things to feel good, look good or both? There’s no right or wrong answer.
I believe that everyone will benefit from a well organized home, and I believe that some people will benefit from that organization being prettified.
This challenge focuses on the former - feeling good, saving time & reducing stress.
I’d recommend that everyone first organizes to feel good, finds systems* that work well for them, and then prettifies (if they want to).
*systems is just a fancy way of saying something along the lines of, “I like the spare loo roll being kept in that cupboard rather than on that shelf.”
5) Have some fun
Scroll to see if your horoscope is right:
Day 3 - Organizing guidelines
Take a look at these organizing guidelines and decide which will work well for you and your family.
Organizing means arranging things in the best possible way to suit you and your lifestyle.
So take everything that you read about organization with a pinch of salt, as you will always be the expert on your home.
You will know when something is working well or not.
Trust your instincts and make your home make sense for your and your family.
Keep like with like - logical, easier to remember where things go and a great way to review if you have duplicates
Keep things you use more often: front and center - this makes things so much easier to grab so that your day flows better
Keep things you use less often: high up, low down and behind other things - *cough, cough* reconsider whether you need to keep these items at all
Use small boxes to maximize storage in drawers and on shelves - we touched on this on day 1, any boxes / containers that are shoe box size or smaller work great for this
Make things ridiculously easy to put away - if you make this a priority in your home will be tidier and happier. My tip is to say out loud what the steps are. E.g. open the closet door, open the drawer, put the socks inside. It highlights every steps and makes it easy to see which could be skipped. In this instance, you could make putting socks away even easier by skipping “open the drawer” - keep your socks in an open front stackable storage bin and just throw them in instead.
Give everything a logical home - challenge yourself to make your life easier by keeping every thing in the best spot possible. This will save you time and your sanity. When you find the right spot for something, you’ll wonder how you every coped with it being kept anywhere else.
Label where everything goes - no matter how organized you are, it usually doesn’t apply to everyone else in the household. In fact, 86% of responders to a recent poll shared that other people in their home didn’t know where everything belonged. Labels make tidying stress free and easy for everyone in the home. I don’t love the look of labels so I add them on them to spots that aren’t “in your face”, like the lip or side of the storage bin.
Don’t commit until you’re sure you’re sure - we very rarely find the best organization solution first time round. I’d recommend using temporary labels at first, in case you change your mind about where things should go. A sharpie and some painters tape works great.
Be prepared to change as your life and family does - how you organize your home for life with toddlers may be completely different to how you’d organize when all of the kids are high school age.
Horizontal surfaces - I try to keep horizontal surfaces completely clear because if there’s one thing on there, I’ll soon add 742 more. Some people really like the rule of 3 though - no more than three items per surface.
Vertical surfaces - I love using command hooks, slim spice shelves and peg boards on vertical surfaces to maximize storage space and help give everything a dedicated home. These all work especially well on the inside of cupboards, closets, storage rooms and wardrobes.
Add bookshelves inside of closets and storage areas to maximize space - I see Ikea bookshelves offered up for free on Facebook marketplace all the time.
Think outside of the box - There are thousands of people like me on the internet, sharing what works best for them. If you have a particular issue that you need an organizing solution for - Google and Pinterest are your best friends. If you can’t find a solution for a particular problem area in your home, ask the universe what to do …via facebook groups, forums, or in the comments below. We can all find a solution together!
Know yourself - For instance, if visual clutter stresses you out, or if dusting makes you ragey, maybe feel free to skip the open shelving trend, and keep everything hidden behind closed doors.
Know your family - we all have a different pick sh!t up capacity. Being more messy, or being more tidy is not a good or bad thing. We’re all just wired differently. Design your organization to meet the needs of everyone in your home.
Day 4 - Identify your pain points
To get the biggest ROI on your organization, spend the most time in areas that currently cause you the most stress.
These could be physical areas, certain times of the day or particular parts of your routine.
Delver deeper and try to identify what makes them so annoying and difficult. Is there something you can do to make things run more smoothly?
Here are some common pain points:
Morning routine
Evening routine
Kids bedtime
Coming home
Leaving the house
Bath time
Now we are going to start going room by room to tackle common issues.
If some days don’t apply to you, you could skip forward, but I’d recommend having a rest day. Rest is important AF.
You got this!
Kitchen
Day 5 - Get started in the kitchen
1) Read this post for kitchen organization inspiration.
Especially if you’re limited with kitchen space.
2) Store bin bags in the bottom of your bin so it’s easy to grab one after you remove the full bag.
I love this tip as it saves space and it’s super convenient.
If this will work for you, go ahead and make this easy change.
If you’re anything like us, you may need to give the inside of your bin a quiiiiick wipe down before using it as a sneaky genius storage spot.
If you don’t want to keep bags inside of the bin, this clear wall mounted dispenser would be a great way to store garbage bags
Side bar - when the time comes to replace our bathroom bin, I’ve got my eye on this ridiculously cute mid century design.
Day 6 - review your cupboards & drawers
Are they set up in the best possible way?
Review the guidelines from day 2 to give you some ideas on how to set them up.
Keep things that you use less than once a week further away if you’re tight on space. This is perfect for seasonal items, or things that you only pull out for special occasions.
Ignore the junk drawer as we’ll cover that in day 8, and any food cupboards as they’ll be done on day 11.
Day 7 - organization tools for the kitchen
If your pile of shoe boxes and bins isn’t floating your boat, there are a bajillion options for kitchen organization.
My top tip is to check Facebook marketplace because so many people buy organizing products without minimizing first …and soon sell them on when “they don’t work”
To decant or not decant …that is the question. I am on team don’t decant …but it does make everything look adorable so you do you, boo. Just remember that it’s an ongoing commitment, every time groceries come in. It got really old, really quickly for me. You also need to store back stock (any extra that didn’t fit into the cute container). If you have space, you can keep it directly behind the storage cannister to make refills easier. I also find it harder when it comes to making the shopping list as there’s an extra place to check if something is out or not. Go with clear containers to see how much you have left at a glance.
Lazy Susans have been a huge help in our kitchen. I use them for sauces in the fridge, spices on our open shelving, and for vinegars and oils in our cupboard. No more having to shove things out of the way to reach the thing you want, no forgetting about delicious ingredients because you cant see them, and bonus, spinning them around is just plain fun. You can find basic ones, two tier ones or high sided ones. You don’t have to spend a fortune though - I found all of ours in thrift stores or on Facebook marketplace - score!
If your pots and pans are out of control, this adjustable cabinet organizer will keep everything in it’s place
This six tier over the door pantry organizer will provide a lot more storage for you
If you want to be able to reach things easier, these pull out drawers will help
If you’re a water bottle and travel mug stan, this organizer will keep them in line
We are very tight on space we love this magic cutlery organizer
Organize your most awkward cabinet using this two tier under sink storage
If needed, you can carve out more storage space above your stove with this adjustable, magnetic shelf
This wall mounted unit for brooms, mops, etc. will keep your tall kitchen cupboard uncluttered
Tame your Tupperware with this adjustable lid organizer
There are even cute organizers for your kitchen foil and sandwich bags
Day 8 - The junk drawer
Have you ever played Tetris? Your Tetris skills are about to serve you if so!
Grab any small boxes / containers that you’ve collected (here’s a bamboo set if you couldn’t find any small boxes at home)
Completely empty out the junk drawer
In true Tetris style, try to add in the small boxes into the drawer to act as storage cubbies / drawer dividers
Group the junk drawer contents together like with like
Add the grouped items into the storage cubbies within
Bonus - to stop boxes sliding around when you open the drawer, you can keep them in place using museum gel or blue tack (aka sticky tack in North America I believe)
Day 9 - Spices
Oh lordy. I have tried every spice rack on the planet and I’ve finally settled on this set up:
Glass containers on a lazy susan on top of a plastic pull out drawer for back stock.
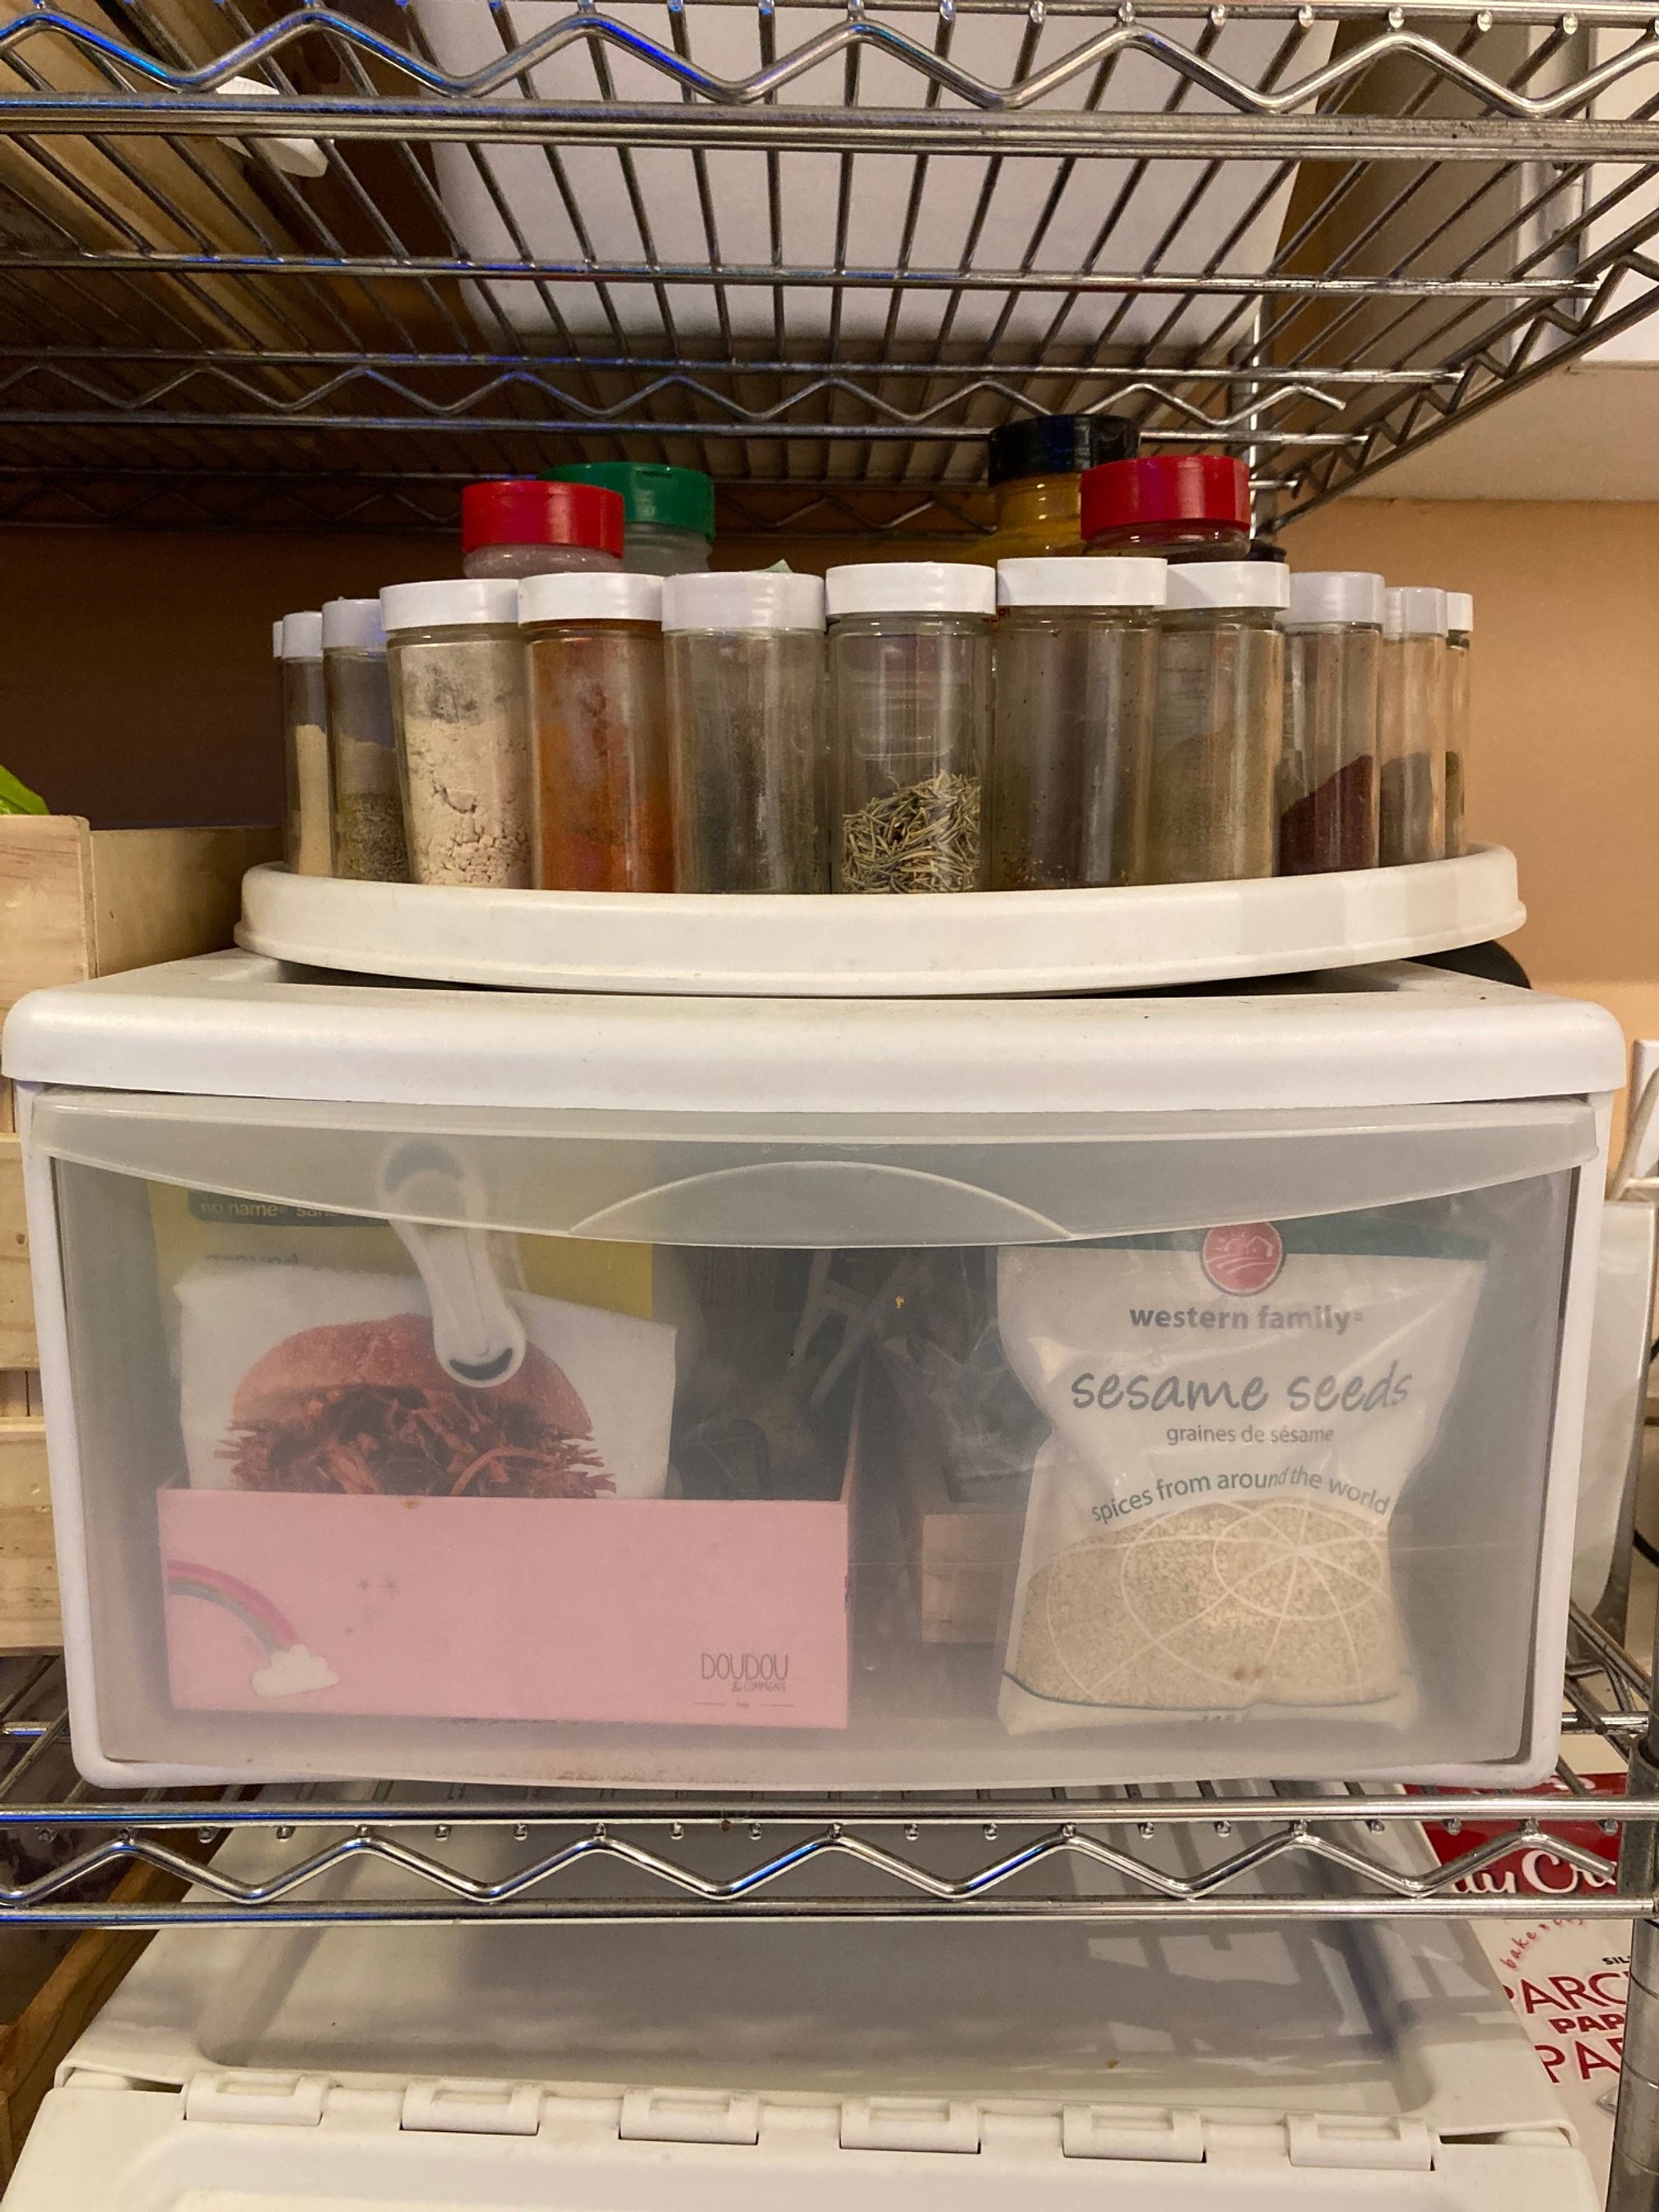
Other ideas include:
There are some cool space saving pull out contraptions that I loved, but they never seemed to fit all of the spices I wanted to use and it seemed pointless to have to find a home for 10 lonesome spices
Add a magnetic strip to the bottom of upper cupboards, and keep spices in tins that stick to it. I love that the spices are at eye level, but are also somewhat out of the way
Add magnetic spice shelves to the side of the fridge
Future me in my future kitchen (that will consist of ONLY drawers below the waist), will have a shallow drawer specifically for spices. It will have a special drawer liner to keep everything handy, in place and visible.
Today’s task is to review your current set up and decide whether to keep it, or if there’s an option that will serve you better.
Day 10 - Fridge / freezer
Use clear pull out bins with handles for your fridge to keep things organized and use up all of the space.
It’s also more eco friendly as things don’t get lost in the back, so you’re more likely to eat food before it goes bad.
If you use plastic storage bins, it’s nice and easy to throw them in the dishwasher if they get grubby.
To further reduce waste, consider allocating a drawer or shelf for items that need to be used up first.
Labels will help everyone know where things belong.
I love this storage rack for your freezer.
Bonus - check out these freezer organization tips by Bri over at Frugal Minimalist Kitchen.
Day 11 - Dry food goods
Keep like with like, consider snazzy storage products like can dispensers, graduated steps, and shelf risers if you think it will help you keep things organized.
I love using boxes and baskets with handles to utilize all of the space and make it easy to pull things out.
I keep like with like so for example, when I’m baking I just pull down the “baking” box for the duration.
Top tip - think about times when food went bad before you could eat it - that may give you an idea of which area needs to be optimized.
Day 12 - finish up in the kitchen
1) Tupperware
My favourite way to store tupperware is to store it with the lid on.
It makes it really easy to see if the dishes and lids no longer have a pair (WHERE do they go?!)
It also means you don’t have to hunt around trying to find the lid, and they’re usually easily stackable.
If you need to save on space, here’s a great adjustable rack for lids, and then you can store the dishes nested inside of each other.
2) Plastic bags
Pick a spot for plastic bags to live.
It could be in a plastic bag (so meta), in a specially designed dispenser, or in a box with a hole cut out.
But whatever it is, promise yourself that once it’s full, you won’t keep any other bags.
There are usually recycling spots for plastic bags. We drop ours off at our local charity shop as they’re always looking for more.
3) Guest box
If you don’t host often, or if you’re limited on space, consider packing extra items up that you keep around for guests into a box and removing them from the kitchen so it’s a simpler space on a day to day basis.
4) Reorganize any open shelving with one goal in mind…
…to delight you!
If you’re looking at it, you should la-la-LOVE it.
Bedroom
Day 13 - Clothes storage
1) Are your clothes being kept where you get dressed?
Sean often gets ready for work before the rest of us wake up, so he has a drawer in the bathroom for his work gear so he can get ready without disturbing us.
This was a gamechanger for our family when we switched - everyone’s morning is much less stressful now.
2) If you have more clothes on your floor that in your wardrobe, consider this messy person clothes storage hack.
Day 14 - Clean clothes
1) Come up with a plan for your clean but haven’t been put away yet clothes
We have a clean clothes basket in our bedroom which is perfect for throwing clean clothes that we’re tidying up from other rooms, but don’t have time to put them away straight away.
2) Come up with a plan for not dirty but also not totally clean clothes
You know, the clothes that usually end up on the chair.
Personally, if they’re clean enough to be worn again, I think they’re clean enough to put back away, so they get put into the clean clothes basket
Another option is to add some hooks to the inside of your closet so they can air out between wears.
Day 15 - Accessories
1) Decide on a system for your accessories
Assign a spot for belts, hats, scarves, gloves, watches, etc.
2) You’re more likely to wear your jewelry if you actually see it
Now that you’ve decluttered and only have your very favourite pieces, consider showing them off!
I love having decorative pieces inside of closets so I’m reminded of them every morning.
3) Socks hack 1
Just have them in one colour/style per person.
No sorting, no pairing, just grab any two and go.
4) Socks hack 2
Another thing that works really well for some families is to store socks close to where they put shoes on instead in the bedroom.
Day 16 - Bedtime
1) Keep anything that’s part of your bedtime routine on or in your nightstand
They not to have anything unnecessary in that space.
2) Keep bedding close by
I love keeping bedding close to the bed that it goes on to instead of it one central spot.
Kids room & toys
Day 17 - Kids clothes
1) Kids capsule wardrobe
If you haven’t already, consider putting together a capsule wardrobe for your littles - it will save you so much time, money and sanity in the long run.
2) Help kids exercise independence by setting up grab and go storage for their clothes (it works great for us big, messy kids too!).
That way they can put their own clothes away from a very early age. If they can’t read yet, no worries - just use picture labels.
3) Keep everything within reach
On that note, if you want little ones to take charge of getting themselves dressed, make sure that everything they need is within their reach.
I love the trendy mini closets that are all the rage now, but a super simple way to do this is with a cheap tension rod set at a lower height so they can access their outfits.
Day 18 - Kid’s art
Art supplies can quickly get out of hand so consider keeping like with like and rotating them, similar to art class at school. E.g. this week we’re concentrating on colouring pencils.
If you have a little artist but the thought of art supplies stress you out, there are lots of mess free options to choose - like digital art, water wow pads and magnetic drawing pads.
A lovely way to display kid’s artwork is to assign wall space for special pieces. Your little one could decide which artwork goes gets shown in the “gallery”. These absolutely magical photo frames will let you display a new art piece in seconds and stores up to 50 pieces. Everything else that doesn’t “make the cut” could be photographed (I love it when my daughter poses with it too), and then recycled.
Day 19 - Toys
Here are some tips to organize toys:
Reduce the number of toys that are out (toy rotation is my jam)
For toys with multiple pieces, like lego and magnetic tiles - you don’t have to keep all of the pieces out at the same time
I love keeping one toy per cubby on our toy shelf. It’s so easy to tidy (for us and little ones) and never looks cluttered or overwhelming
Add picture labels so young kiddos can help tidy up too
If toys often make their way into other rooms like the living room or your bedroom, have a box or basket there to quickly throw them in to at the end of an exhausting day
Bathroom
Day 20 - bathroom day 1
1) Every day items
I keep items that I use every day together in a box. It’s quick and easy to pull out and put it away when I’m done getting ready.
2) Evening routine
Keep your evening routine products in their own little basket that you can pull out and easily keep them all together.
3) Do you need a laundry basket nearby?
Keep your laundry basket close to where people dump their clothes on the floor - for us, that’s the bathroom, so we have a laundry basket just outside and we put our dirty clothes in their on our way out.
4) Under the sink
Tackle under the bathroom sink today.
This is definitely a spot that benefits from specific storage.
Day 21 - bathroom day 2
1) Travel size products
Store any travel sized products and accessories that you don’t use on an everyday basis somewhere - inside of your suitcase is handy if you travel often.
2) Make up
Store make up based on how often you wear it. E.g. keep everyday wear in one pouch and special occasion items in a box in your closet.
3) Would shower caddies work for your family?
If you have a big family, limited space, or if everyone uses their own products, you may benefit from everyone having their own shower caddy - dorm room style. That way they can bring all of their essentials to the bathroom when they need them, and then take them all away with them once they’re done.
4) The rest of the bathroom
Tackle the remainder of the bathroom today using your usual organizing guidelines - you’re a pro at this by now!
Living room
Day 22 - living room day 1
1) Keep your remotes all together
We use a little basket for our 345 remote controls.
2) Tame cables
Use cable ties to keep cables neat and tidy.
Storing unused cables in a photo storage case like this is a great way to stay organized.
Day 23 - living room day 2
1) Put it in the cloud
Are you holding on to things that could be stored digitally instead?
Photos, movies, music, games etc.
2) Make sure these bulky items have a home
Pick a spot for things that easily make the room look messy - like spare pillows and blankets.
Desk / office
Day 24
1) Stationary
I like keeping pencil cases based on how often I use items.
I only have 2 - one with a couple of pens and the medium sized post notes I like.
The other is for bulldog clips and highlighters that I use less often, but come in handy when I need them.
Alternatively, use a drawer organizer to keep stationary organized and easy to grab.
I avoid a desktop vertical stationary organizer to reduce visual clutter.
2) Paperwork
I give full instructions here but basically, my paperwork organization method is to take a photo / scan most things, and for the very few things I need to keep an original copy of, I keep them all in one place.
Simple.
Easy.
Entryway
Day 25 - entryway day 1
1) Make a plan for mail
I like to open it standing up next to the recycling bin, otherwise it gets really heavy and I just have to put it down somewhere …for at least six weeks.
2) Go paperless
Even better, switch to paperless billing wherever possible, and add a ‘no junk mail’ sign to your letterbox.
3) Tackle your bags
Get rid of the crumbs at the bottom of your bag and assign a spot for everything.
Day 26 - entryway day 2
1) Do you need an over the door shoe organizer?
My favourite hack is to use a clear over the door shoe organizer to store inside of a hallway closet to store random items like gloves, shoes, dog poop bags, face masks, etc.
2) Move out of season items
Keep things less overwhelming by keeping out of season outerwear and items you wear less often either somewhere else, or behind closed doors.
3) Use all vertical space
We use stick on command hooks high up on the inside walls of our entranceway closet to store my hubby’s beloved hat collection
(I would have bought these specialty holders if I’d known they existed though)

Garage
Day 27
This is likely bigger than a one day job so focus on using your organizing guidelines to come up with a plan for your garage, storage rooms, attics, basements, etc.
Top tip - keep tools visible and organized using a pegboard.
Miscellaneous items & areas
Day 28 - Miscellaneous items day 1
1) Pet supplies - we keep all of Elsa’s leashes, coats, poop bags, meds, treats, vitamins and collars in a tiered cart close to where we get her ready to go out.
2) Shower caddies are amazing - we have one for cleaning supplies and one for diaper changes. It’s convenient because they’re mobile and it’s tidier because everything’s kept together.
3) Linen cupboard - There’s nothing worse than pulling one thing out and causing an avalanche. I love using shelf dividers to keep piles of linens separated and organized. My other favourite tip (thanks Michele!) for linens is to stack them with the smooth fold showing outwards, and the ends of the linens on the facing the back of the cupboard.
Day 29 - Miscellaneous items day 2
1) Sentimental items - I store sentimental items together so they’re easy to go through and decide on what to keep.
Once I’ve decided to keep something, I either pack it away to keep it safe, or enjoy it every day by keeping it out.
You can read more about dealing with sentimental items (guilt free) here.
2) Teeny tiny tidy - Now that everything has a home, you’ll be shocked and delighted at how quick it is to tidy.
The hardest part is getting into the habit of doing it, even on bad days. The best thing that’s worked for us is doing a teeny-tiny-tidy every day.
We set a timer for 1-5 minutes (depending on our energy levels), and then tidy our little hearts out.
Psst …here are 25 tidying tips, tricks & hacks that make tidying easy, even for a messy person like me!
Review and tweak
Day 30 - time to review and tweak!
Get everyone involved with this stage.
What’s working well / making your life easier?
What can be improved upon / feels like a pain in the butt?
Now that you’re a pro at problem solving and thinking outside of the box, is there anything you can go back to and redo to make life even easier?
Conclusion
Congratulations! You’re now a pro on how to organize your house in 30 days!
You know that organizing is not just about cute storage bins and fancy label makers.
You don’t need to stop at physical possessions, consider what else you could let go of:
expectations
unhealthy spending habits
people pleasing
commitments
complications
negative money mindsets
toxic relationships
digital clutter
insecurities
The next free 30 day challenge will be all about organizing your life. Click here if you want to be notified when it’s available.
If you want to keep things clutter free after all of your hard work, send these 121 clutter free gift ideas to loved ones, or read this guide of what do do if you receive an expensive gift that you don’t want.
Get in touch to let me know how you got on, I can’t wait to hear all about it!
